• Home
  • About
  • Recipes
  • Events
  • Life
  • Disney
  • Contact

My PB + J

to.die.for cinnamon rolls

Every Christmas and New Year’s Day my family wakes up to fresh cinnamon rolls. For the past four years I have been baking Pioneer Woman’s recipe, which I love and will never part with. This year, after having a holiday evening with friends and trying their recipe I decided to venture out. Her secret was vanilla pudding! I would have never thought about that in quick yeast bread. Her recipe was for a bread machine and even for me it seemed too difficult because I have to be honest with ya, bread scares me! Will it proof, not proof? Will it take quadruple the amount of time to rise? Probably. The one thing I have learned while baking cinnamon rolls is just to be patient. Wrap some presents, prep something else and make it a family affair. We made a double batch, the kids helped mix, I didn’t knead this dough long enough so after thirty minutes of zero rising I re-kneaded and it rose very quickly! The kids then helped spread the melted butter and loaded those babies up with enough sugar and cinnamon to give you a tooth ache. Christmas Day we gobble up the gooey cinnamon-y goodness and then Payton brought them to all our neighbors. She was so proud as she delivered them and I was equally as proud watching our tradition continue.

IMG_4693 
IMG_4722


I followed this recipe from Mel’s Kitchen, fitting that I would love her recipe since we share the same name. 😉

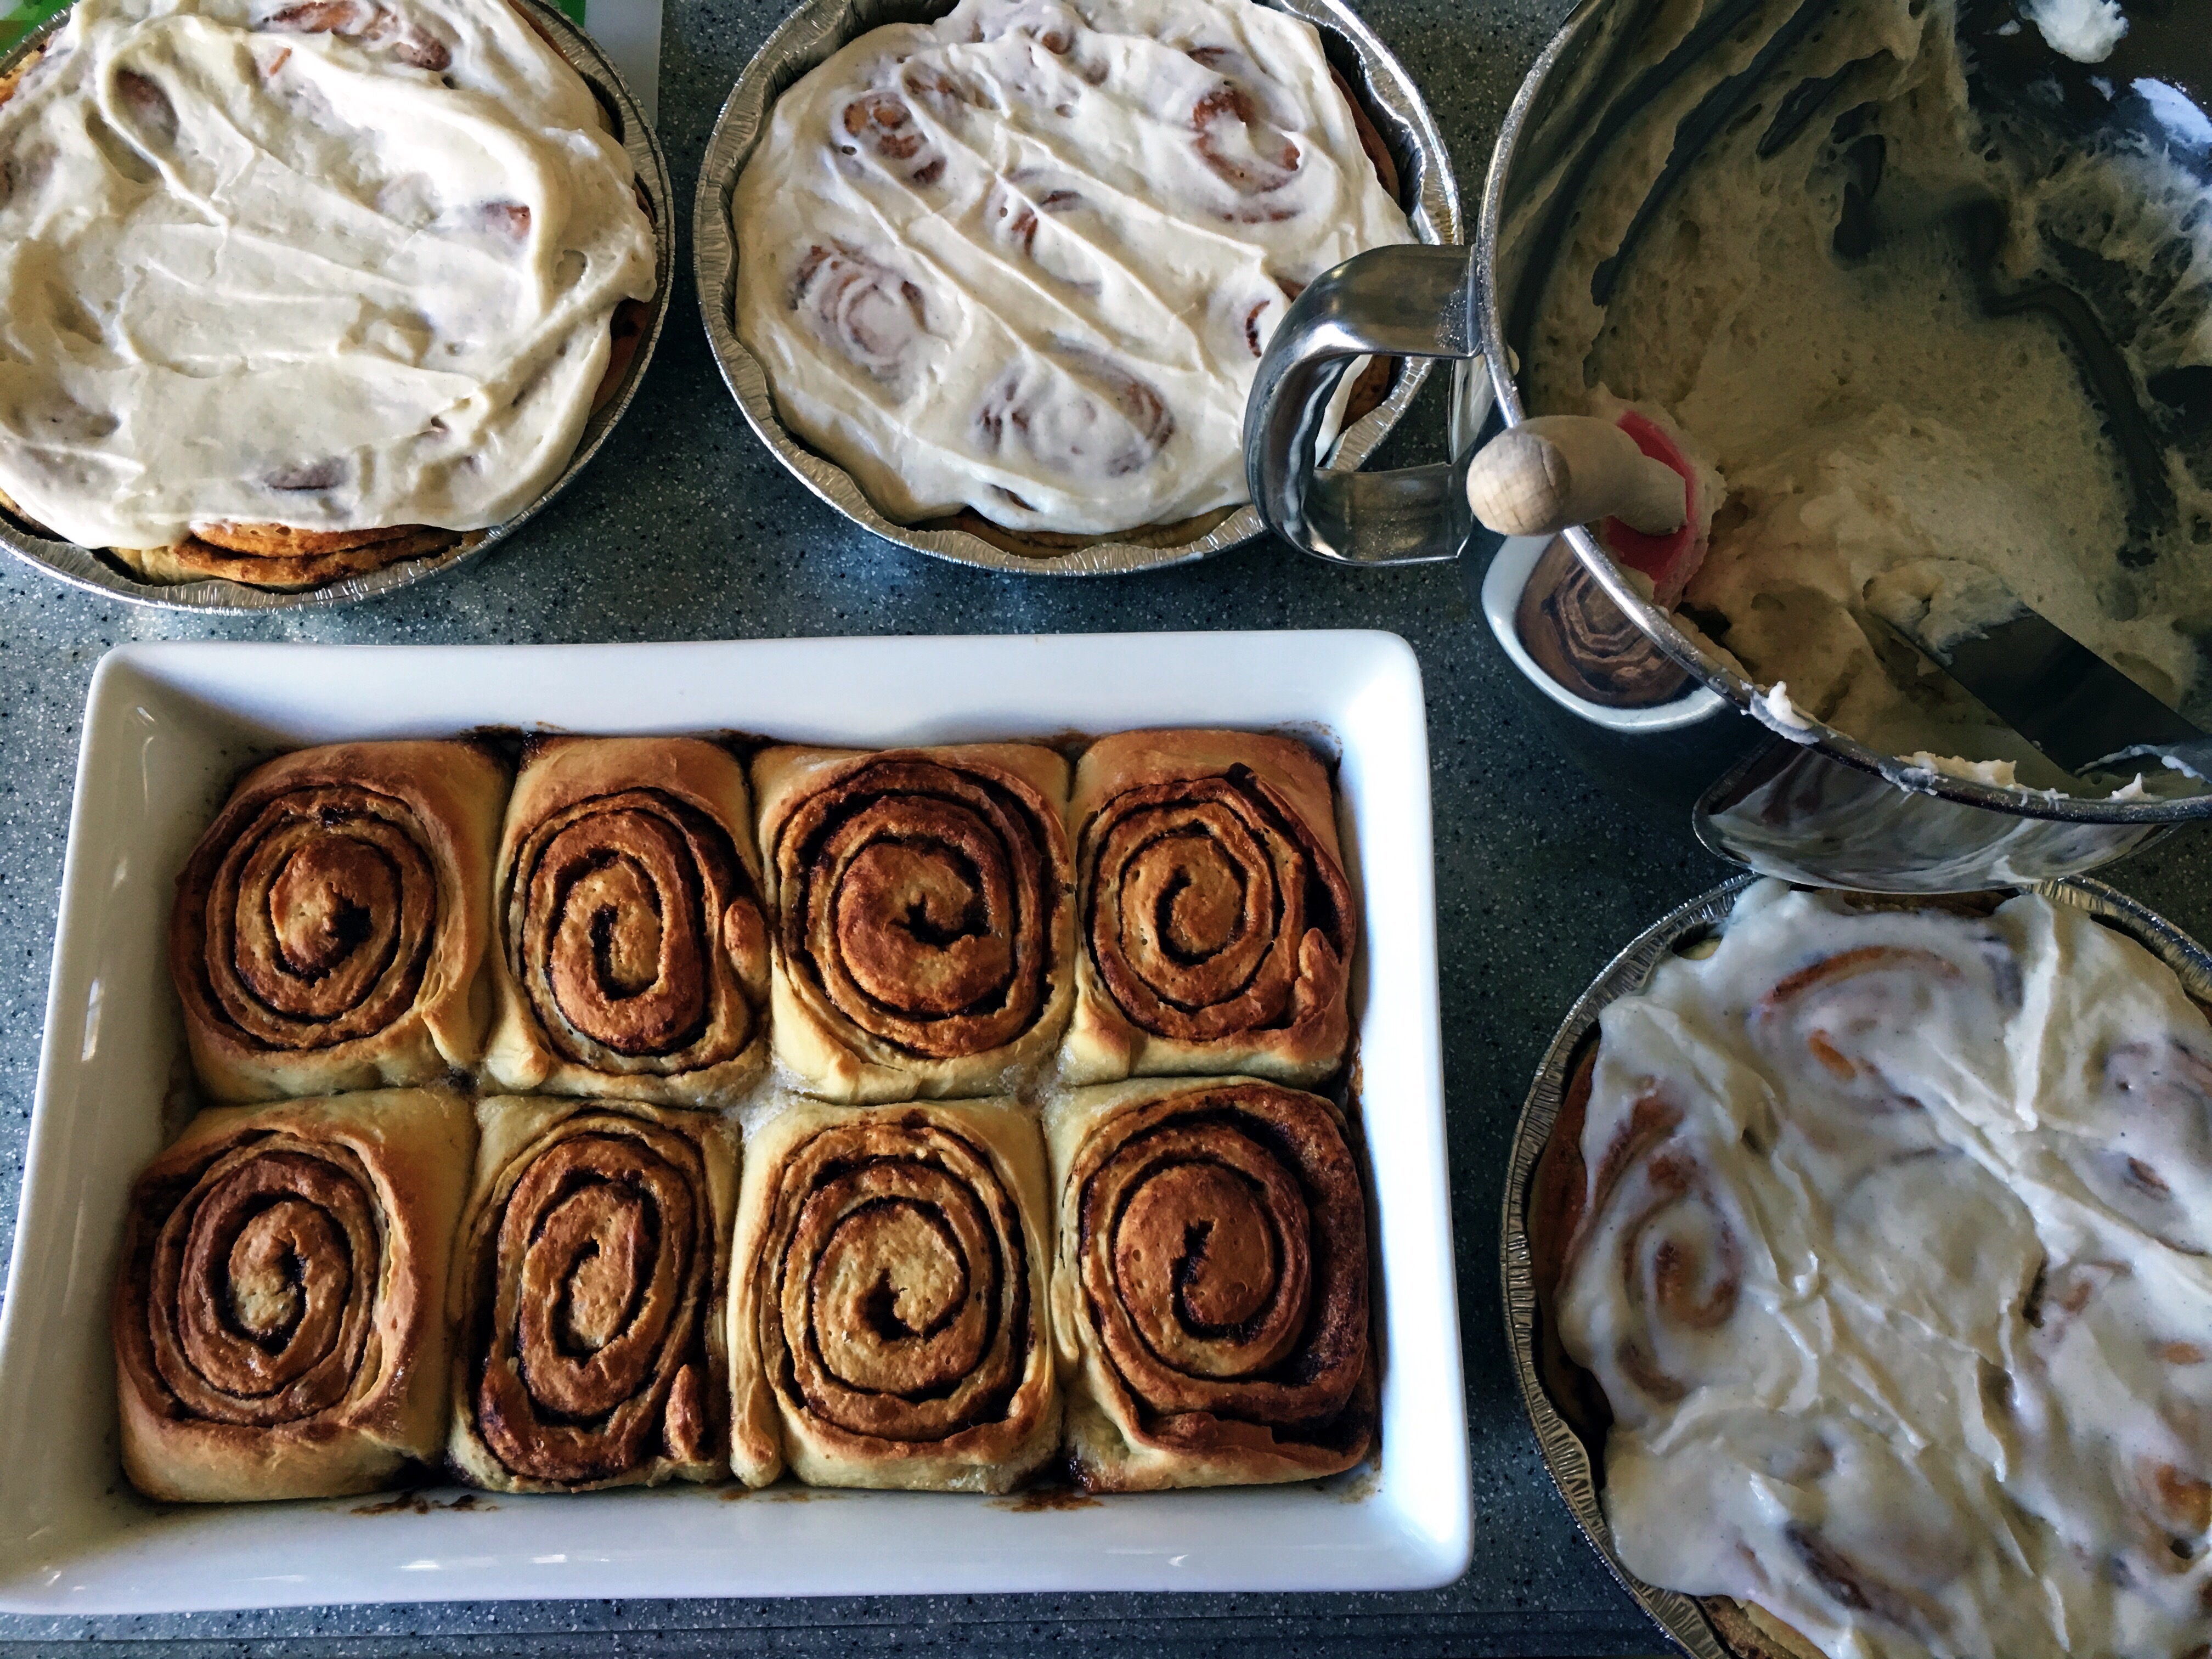
For the frosting, I made my cream cheese frosting I use for my cupcakes. It uses slightly more powdered sugar than she recommends and I used vanilla bean paste for speckled goodness.

IMG_4725

January 23, 2016 Leave a Comment

Holiday Baking with Land O’ Lakes Butter {Caramel Apple Pie Pops Recipe}

I am a member of the Collective BiasŸ  Social FabricŸ Community.  This shop has been compensated as part of a social shopper insights study for Collective Bias and its client. 

Over the weekend I had my sister, best friend and their families over for a little holiday crafting date. Basically this translates to: my best friend brings some yummy food, I bake, my sister does all the crafting, the kids get to play and the husbands watch football. It was a great excuse to get everyone together even if that meant we barely got any real crafting done. We can partially blame that on the food coma and maybe a glass of wine (or two!)

The day before I stopped by Walmart to pick-up some last minute craft and baking supplies. The one thing about my refridgerator is that it is usually fully stocked with butter, I mean who doesn’t love butter? But, with all the holiday baking I have been doing lately I was all out of the good stuff. When I bake I make sure to use quality butter and always choose Land O’ Lakes.

Since going gluten-free over two months ago I have been brainstorming my baking list to see where I can make some changes with treats I enjoy. One of my favorite desserts during the holidays is my dutch apple pie. I tweaked the recipe slightly by taking away the crumb topping, added in mini caramel bits, switched the all-purpose flour to gluten-free flour and made them pops! They are so stinkin’ cute and taste that much sweeter. I would love to say that making them mini would stop me from eating more but I cannot. The crust is my favorite part! Land O’ Lakes butter makes the crust so flaky, delicate and perfectly crisp that you don’t even realize that it’s gluten-free.

Gluten-Free Caramel Apple Pie Pops Recipe
 
For the Crust: 
Ingredients:
  • 2 cups gluten free flour
  • 2 tablespoons sugar
  • 2 teaspoons guar or xanthan gum
  • 1 teaspoon baking powder
  • 3/4 teaspoon salt
  • 1 stick Land O’ Lakes butter cut into pieces
  • 2 eggs, lightly beaten
  • 2 teaspoons apple cider vinegar
  • 1 teaspoon pure vanilla extract 
  • lollipop sticks (optional)
  •  
  • Instructions:
  • In a food processor mix: gluten-free flour, sugar, guar or xanthan, baking powder, and salt. Cut in chilled butter.
  • In a separate bowl, combine: eggs and apple cider vinegar. Add to flour mixture and stir to blend. You may need to add a tablespoon or two of water to dough.
  • Gather dough into a ball, wrap, and refrigerate until slightly chilled.
  • The easiest way to roll out the dough is between layers of plastic wrap or parchment paper. Roll dough fairly thin, but thick enough so it does not tear. Using a biscuit cutter, cut an even amount of circles. Place the cut circles onto a parchment lined baking sheet. Place a lollipop stick half way onto the dough. I found red stripe sticks but plain sticks will work too.


Apple Pie Filling: 


  • 2-3 Granny Smith apples, peeled, cored & diced 
  • 2 TB brown sugar
  • 2 TB granulated sugar
  • 2 TB cinnamon
  • Caramel Bits (2-4 bits per pie)
  • half & half
  • sanding sugar
  • In a mixing bowl, combine: apples, sugars and cinnamon. Place a heaping teaspoon onto each dough circle. You will want to make sure the mound isn’t too high as the top layer of dough will tear.
  • Add 2-4 caramel bits on top of the apple layer. Place second piece of dough on top. Slightly push the two pieces of dough together. Take a fork around the edges to crimp the dough together. You can add a decorative piece of dough onto the pies like I did if you wish. I’ve made some with acorns for Thanksgiving and some with stars for Christmas, the options are endless.
  • Brush a little half & half onto the crust and sprinkle sanding sugar. Bake at 350Âș for 25-30 minutes until golden brown. I tend to like my crust a little darker so mine were baked for roughly 33 minutes. Let cool & enjoy!


Caramel Apple Pie pops will bring a smile to anyone’s face this holiday season! For additional holiday ideas using Land O’ Lakes butter make sure to visit their holiday recipe collection.

November 25, 2013 2 Comments

my baking cupboard & a few of my favorite things

i often get questions about baking and the tools i use. i have a plethora of gadgets and for whatever reason i never seem to have enough room and we have a good amount of kitchen storage. i thought i would dedicate a post to show you what i mainly use for my cupcake orders.

cupcake liners  
like my pp have stated i have an addiction to pretty papers. i have one half of a cabinet that house these. i always look on etsy because i find that my vendor is way cheaper than my local cake shop, weird, i know. plus, when you order online they tend to send you little extras like fun sprinkles. tip: look after a holiday has passed at craft stores for discounted cupcake liners. i always do this for the major holidays because they usually roll out the same design the following year.  

 this goes three rows deep. sick addiction. 
sprinkles
just like the liners always look after a holiday on the clearance rack. i just scored some really cute white and pink hearts for a $1. these work great for cake pops too. i usually pick-up sprinkles based on the order but like you can see below i have a pretty good stock. the drawer next to this one has more sprinkles/candies: sixlets, hearts, etc. that make for great cupcake adornments. 

Pastry Tips
when i first started baking cupcakes i was given the entire wilton decorating caddy. this is a great gift for any starting baker. i used to get so frustrated using the small 1M tip to frost cupcakes, it would take me forever and my hand would throb. i moved on and purchased the ateco set from williams sonoma. most cake shops sell the tips individually. my go-to tips are the french star, round and closed star. 
fondant
if i use fondant to cover a cake which is rare i only use fondarific. it is flavored so for all of you nay sayers about crappy tasting fondant you have never tasted fondarific. you could just eat an entire tub. you can also roll out a thin layer of this and place it in between cake layers for an added punch of flavor. my faves are the buttercream and chocolate. when i use fondant for cupcake i just use plain ‘ole fondant from wilton. it tastes like crap but nobody eats the cupcake toppers anyhow, if you do…don’t! 

coloring pens
if you own a set of wilton coloring markers throw them in the trash. sometimes it is so easy to just use your 40% off coupon but they are watery and when placed on chocolate, think cake balls, it balls up and does not flow. the americolor set is the only set you will ever need. at $19.99 it is well worth the investment, you can thank me later. 

cricut machine 
now, i had this lovely machine tucked away in my garage for over a year and never used it. i am so mad at myself for never taking it out. it’s amazeballs. i also use regular cookie cutters for designs but this machine is seriously a great invention. on the plus side, you can use it just like the other cricut machines for paper crafts with the switch of the blade housing. 
 cupcake tin
i am fortunate enough to have a pretty good sized oven. when i first started getting cupcake orders i was using my 12 cupcake tin, taking me forever. when i got my first order of 100+ i went to restaurant depot with my old kitchen manager and purchased two 24-cavity cupcake tins. its a time saver and it keeps things moving fast. 
gel paste
again, if you own any wilton gel pastes throw them away. the colors do not represent the colors on the lid and they taste funky. go to your local cake supply store and purchase americolor gel pastes. they offer every color of the rainbow and will make coloring frosting a lifesaver. for $1.99 each you cannot go wrong, again, trust me. 

cake pedestals
invest in a few good cake plates. it will turn your dessert tables into a masterpiece. if you can’t dig out the funds for a gorg rosanna cake pedestal head to homegoods you can score really nice cake plates for around $9 each. this is another one of my addictions. it’s my mom and grandma’s fault. i am rounding out at just about twenty cake stands. 
rectangular / square plates were purchased at crate & barrel. this is amira from shades of gray‘s dessert table i did. 

that’s all i can think of for right now. i hope someone got something from this post! 🙂

March 16, 2012 7 Comments

Maple Walnut Fudge

Do you have that one holiday treat that brings back memories from your childhood? I know I sure do. For me it was always my Grandma’s chocolaty fudge and her peanut butter burst cookies. I can still hear her thumbing through the large round silver tins, the candy wrappers nudging one another as she found that perfect piece to give us in the “cookie room”. Well, she didn’t have an actual cookie room it was her spare room which was lined in tins because she always said that room was the perfect temp to store such items. I miss that room, I miss her baked goods. So, at the holidays my sister and I always bake our favs from our dear Grandma Barr, I always do at least the Norwegian shortbread and tea cakes. Never do they taste the same but we try. 
Back to the fudge. I have only tried making true handmade fudge once or twice, I am successful at quick fudge but “real” fudge has always been a challenge. I always find great looking recipes but using a candy therm can be challenging. Last night I decided to give this recipe a go, but of course I ended up talking to my sister from 205 degrees until 235 and I was worried when I did the water test. In the end this was way easy and truly is the best fudge ever. I was shooting for a true shore fudge for the hubby to savor since he hasn’t been back home in years and he approves!     

MAPLE WALNUT FUDGE
recipe directly from the last wonton
1 cup sugar
1 cup brown sugar
1 cup whipping cream
1/2 cup butter
1/2 teaspoon sea or Kosher salt
1/4 cup pure maple syrup
1 1/2 cups chopped Callebaut or other good quality white chocolate
1 cup walnuts, roughly chopped and toasted
2 teaspoons vanilla
Add the two sugars, cream, butter, salt and maple syrup to large-ish pot over medium heat.  Stir while bringing to a boil.  Lower the heat and continue to stir slowly while the mixture cooks. After about 7 minutes, test by pouring a small amount into cold water.  You want it to form a soft ball.  Or use candy thermometer to 235F – 238F – soft ball stage.  When it reaches the soft ball stage remove from heat and let rest for 10 minutes. 
After 10-15 minutes add the white chocolate and vanilla and stir until chocolate melts.  You will notice the fudge start to thicken immediately.  Stir another couple of minutes until the fudge starts to lose it’s shine.  Quickly add the walnuts and pour into a buttered double loaf pan or dish.  Let cool at room temperature.  Chill. 
Best served chilled.  Now you have the best fudge recipe in the world.

December 24, 2011 2 Comments

Connect with me

  • Email
  • Facebook
  • Instagram
  • Pinterest
  • Snapchat
  • Twitter

Hello! I am Melissa, a quad espresso addict, health-nut wannabe, mommy to two adorable kids and married since 2007. I love sharing about our family life in San Diego. We visit Disneyland way too often, make sure to follow me on @treatsofdisneyland. I love movies and I have a photography business, @mypbandjphoto. You're likely to see a little bit of all of that here on my blog that I started in 2008.

Tags

#cbias 17-day diet baking birthday birthday bash giveaway brayden clean eating cleft journey cupcakes cuppy-cakes dear brayden dessert disney disneyland DIY fall family firsts giveaway giveaway events giveaways holidays merry fluffy christmas monday phone dump Monthy Letter movie review nuby nuby mommy blogger paleo pasta Payton product reviews pumpkin real housewives recipe review Salad summer the 30 clean The Dailey Method top 2 tuesdays Uncategorized valentines day weigh-in wednesday wishful wednesdays

Categories

Archives

Welcome!

Trolls World Tour: At-Home Movie Premier

If you’re feeling like us right now you’re pretty bummed that you cannot head to the theaters this Friday to catch the highly anticipated debut of, Trolls World Tour. Luckily for us, it’s being released this Friday On-Demand. We’ve also been listening to the soundtrack, which is available now on iTunes. Our favorite for the […]

Quarantine Week #3

8th Birthday Battle Royale

Star Wars The Rise of Skywalker {Review}

See What I’m Pinning

Copyright © 2025 · Jane Theme By, Pretty Darn Cute Design